|
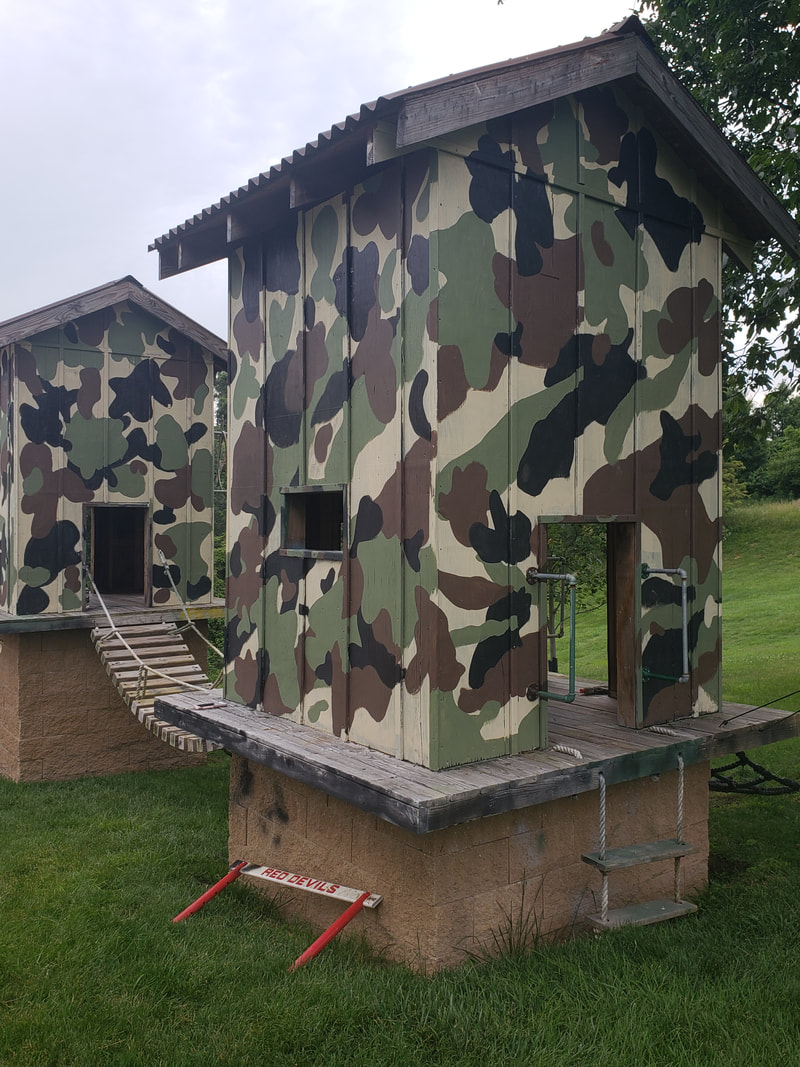
The Magnolia Ladies and I recently finished a "camo" wall for a client and the picture went bananas on Facebook! We’ve also done it on a young man’s playhouse set with great results. You can use this fun pattern in a ton of different ways - playhouses, walls, furniture, you name it! Little guys and even girls love it! So, I thought I’d give a quick tutorial on how to make it happen. You definitely do not need to be an artist to do this fun pattern and add a little something special! (This article contains affiliate links. We may receive a small commission from your purchase at no additional cost to you which helps keep our small business going and giving you great tutorials! ) 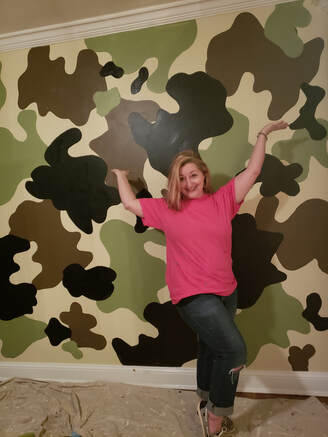
Here’s what you will need:
How to do it:
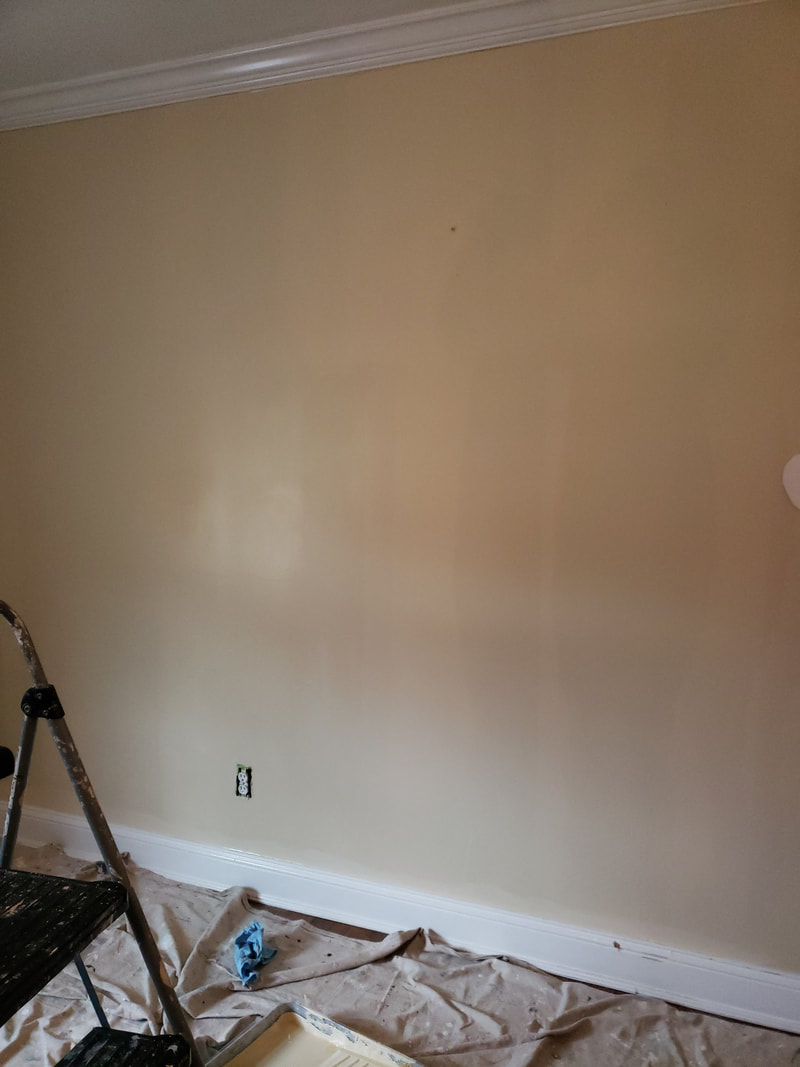
1. Paint the entire wall with two coats of a light tan color. For this one I used Almond Bisque by Benjamin Moore in an eggshell sheen.
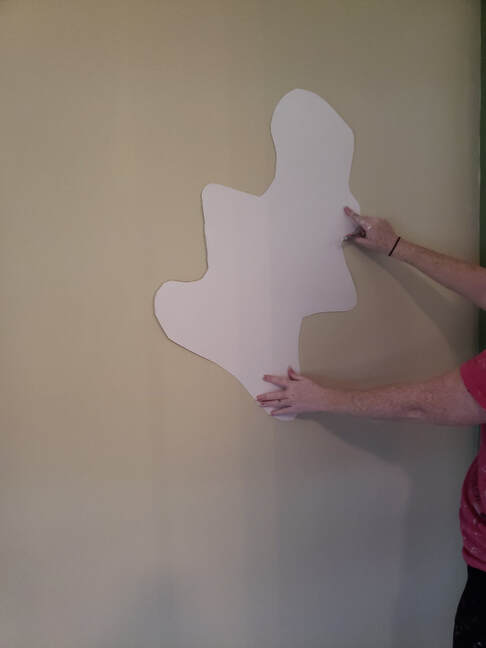
2. Next, after letting the base layer dry for a couple of hours, take several pieces of poster board and draw shapes on them in various sizes. Draw several large shapes (almost the size of the full poster board), a couple of medium sized shapes (approximately half the size of the poster board), and several smaller shapes (about one fourth of the size of the poster board).
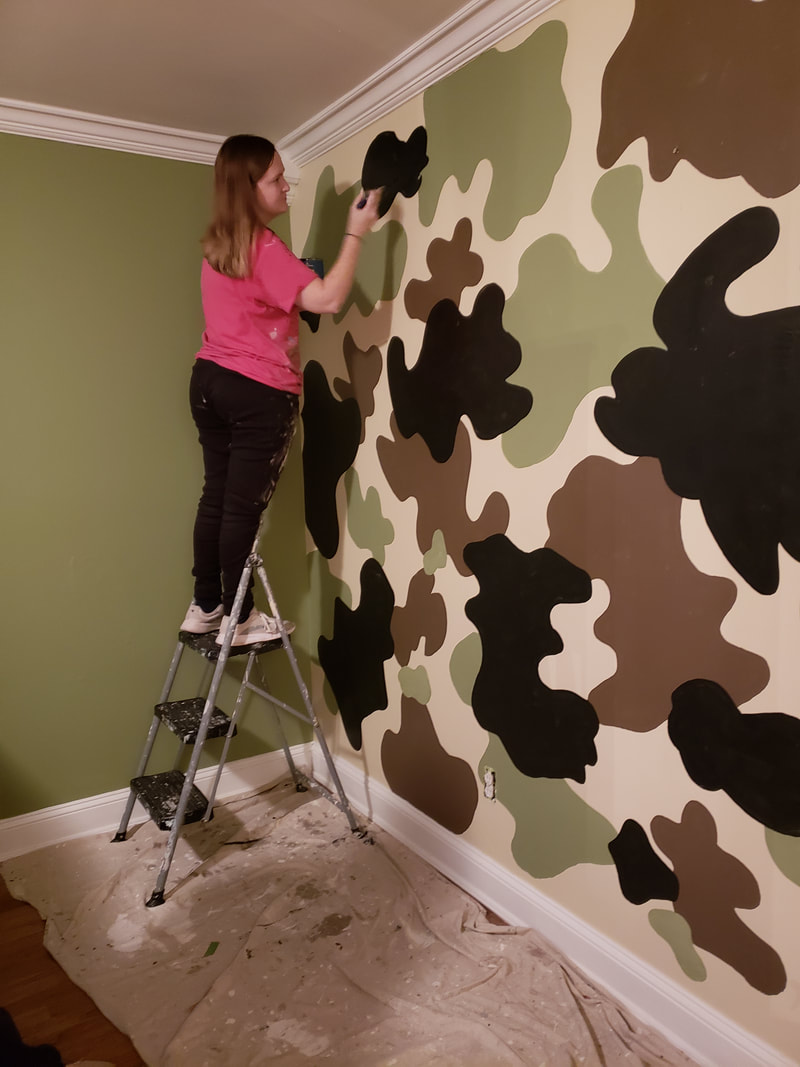
3. Cut out the shapes using some sharp scissors and begin tracing the largest shapes onto the wall with a pencil. Leave some space between them and alternate the shapes. These will be your base layer shapes.
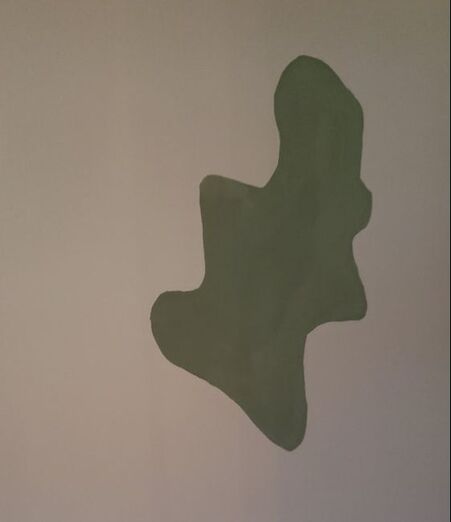
4. Paint the shapes in using a good paint brush that will give you clean lines. On this wall I chose to use Misted Fern by Benjamin Moore as the base shape color. This is the color we painted the rest of the walls so it made the camo print coordinate beautifully.
5. Next, after the base shapes have dried, take your medium shapes and begin tracing them onto the wall. Place them so that they overlap the larger shapes in various places and also cover more of the tan base coat. Flip and turn the cardboard templates to form the shapes in various directions. We painted these shapes in Dixon Brown by Benjamin Moore and a standard shade of Black.
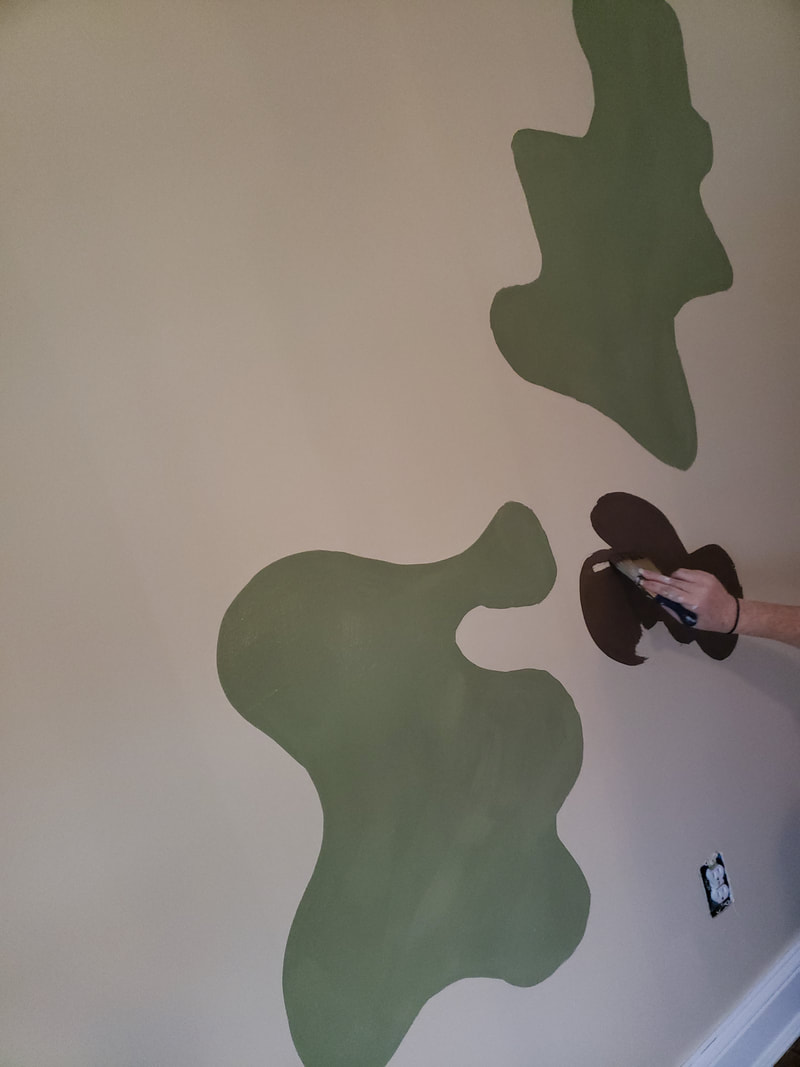
6. Finally, we filled in and layered on the smallest shapes, often standing back from the wall to get a clear view of where the pattern needed filled, where a certain color was needed, etc. After all of the paint was dry we went back in and filled in any places where the pattern had dried too light with a second coat.
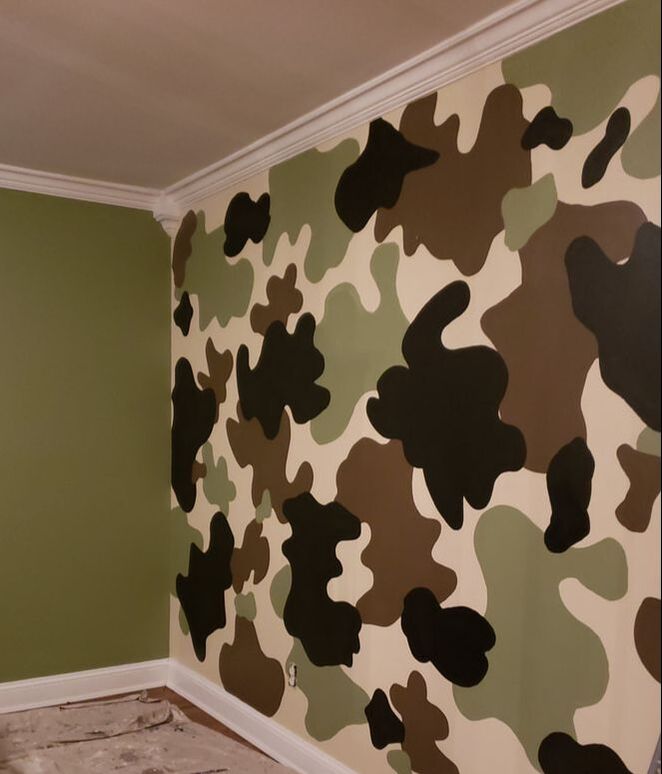
There you have it! This project can be a little time consuming so I recommend grabbing a helper, blocking out some time, and having fun building this cute pattern! Check out our finished wall and this same pattern on these cute playhouses we did last summer!
Make sure to check out my other tutorials HERE!
22 Comments
Hi Y'all! One question I am asked over and over and over again is, "What color should I paint my cabinets?" It's a big decision! So before you spend a lot of time or money to have your cabinets painted (or do them yourself), here are my top 5 most requested finishes for kitchen cabinetry.
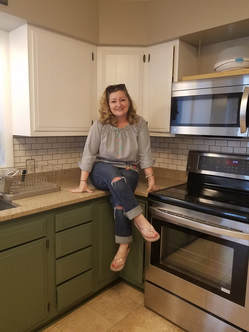
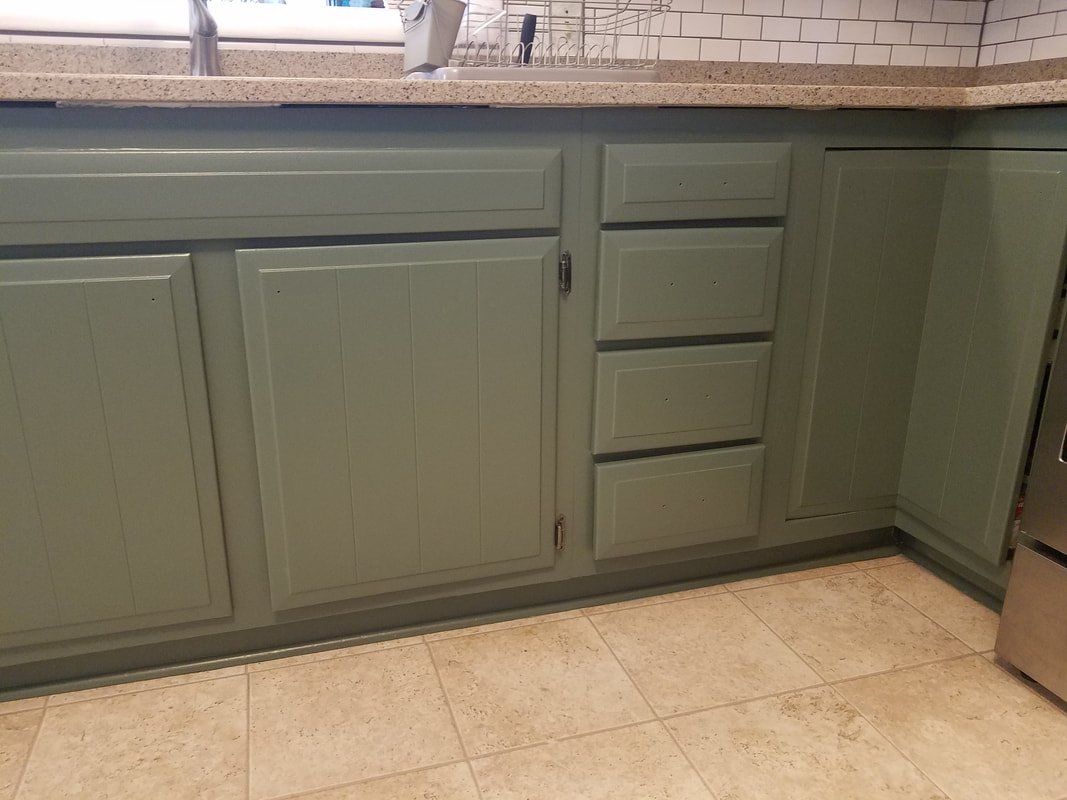
#5 Blues & Greens More and more, clients are choosing blues and greens for a pop of color to brighten their kitchen. Often, these shades are being used on an island or just the bottom cabinets, balanced by a more neutral color on top cabinets. Sometimes, for brave clients who are fans of color, they are being used on whole sets. Go to Blues & Greens: Hale Navy by Benjamin Moore Palladian Blue by Benjamin Moore Sea Salt by Sherwin Williams 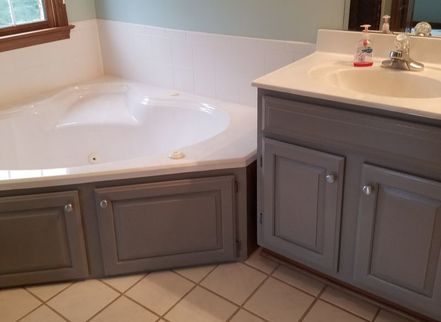 #4 Gray Grays are still everywhere and are THE modern neutral at the moment. When going gray with cabinets, I do recommend using a deep enough shade to make it obvious they are gray and not dingy. Done correctly gray can give a cool, classic appeal to any room. Go to colors: Stonington Gray by Benjamin Moore Coventry Gray by Benjamin Moore Gray Owl by Benjamin Moore
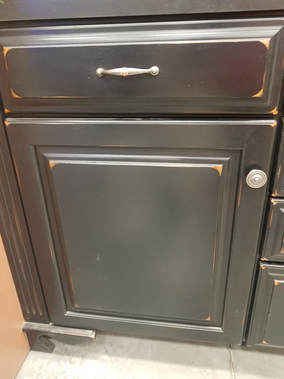
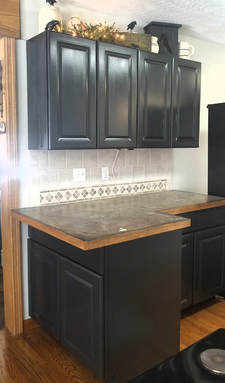
#3 Black Black cabinets add depth and dimension to any kitchen space. And don't think just because your kitchen is small that you cannot pull it off - you can! Many clients choose a distressed finish to give black a custom look with a bit of farmhouse flair. Go to Colors: Tricorn Black by Sherwin Williams Black Satin by Benjamin Moore 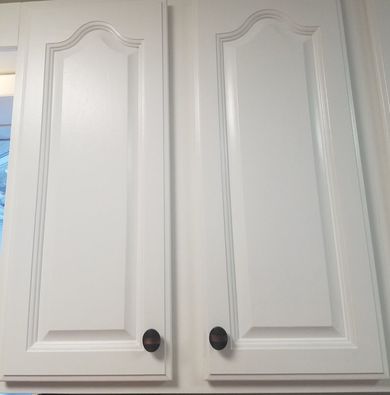 #2 Bright White Coming in at number two is a classic, clean, bright white. Sometimes there is nothing more dramatic than taking a set of dinged up wood finish cabinets and turning them snowy white. It's like the whole room just took a in a gulp of fresh air! Go to Color: Atrium White by Benjamin Moore 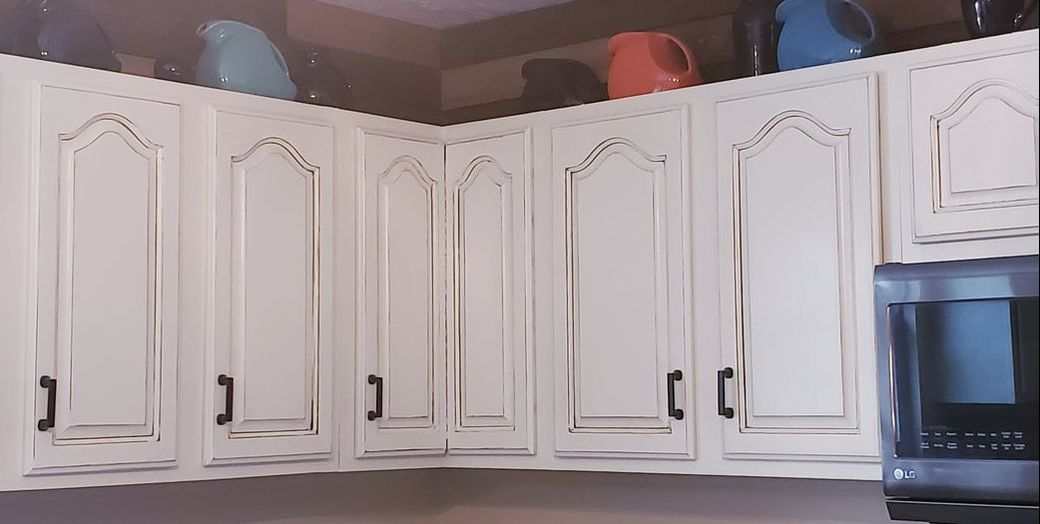 #1 Cream/Off White
Without a doubt, our most requested finish is a softer version of white. These colors are even better when paired with a light distressed technique, a chocolaty brown glaze, and antiquing glaze, or a glaze inking technique (glaze in cracks and decorative edges only). Getting the right color here is SO IMPORTANT! It is so easy to accidentally go yellowish or end up with a dirty looking finish as opposed to the custom, high end finish you had imagined. Go to Colors: White Dove by Benjamin Moore Swiss Coffee by Benjamin Moore Acadia White by Benjamin Moore I hope you found this helpful! Sign up for our emails to be notified when we post more information on how to make your home beautiful! And don't forget to LIKE us on Facebook for live video tutorials and more! |
AuthorJessica is a Jesus Follower, Wife, Mother, Entrepreneur, and painter of anything that will stand still long enough within arm's reach. Archives
January 2020
Categories |
 RSS Feed